3D Printing creates 3D objects adding material layer by layer using the information from a computer-generated 3D model.
What is 3D printing?
The fundamental principle of 3D printing is that it fabricates a 3D object directly from a 3D model by adding layer by layer of material and fusing them. It uses CAD-generated 3D models to manufacture a three-dimensional object by adding material layer upon layer and fusing them.

Technologists early on referred to these technologies as rapid prototyping, but since then, they have made huge strides and moved from prototype to production-ready part manufacturing. As a result, these technologies are widely known as 3D printing, coined by MIT for inkjet printing in the 1990s based on a 3D printing technique they invented. As a result, these terms need to adequately describe recent technological advancements in the sector.
History of 3D printing
Chuck Hull, a 3D Systems Corporation engineer from the United States, is credited with inventing 3D printing in 1983 as a solid imaging process known as Stereolithography (SLA), the first commercial 3d printing technology, and the STL file format. Many 3D printing processes still use Hull’s contributions to the STL file format, digital layer slicing, and infill strategies.
Many companies have developed and introduced new techniques since then. However, because the technology is still relatively new, companies that develop and introduce new techniques may do so under new marketing terms, even if the core technology remains the same.
ASTM International technical committee finally defined these processes as Additive Manufacturing (AM) since it builds 3D parts by adding material rather than subtracting material instead of the subtractive manufacturing process.
ISO/ASTM standards define 3D Printing as additive manufacturing and classify it into seven types based on the techniques used to create the layers, the energy source, and the fuse material.
Types of 3D printing technologies
Material Jetting, Powder bed fusion, Vat photopolymerisation, Material Extrusion, Binder Jetting, Sheet lamination and Direct energy deposition are the seven leading additive manufacturing technologies. The standards are here.
Each of the seven types of 3D printing technologies differs based on the underlying technology used to lay material onto the build platform, the material type, the energy type used, and the post-processing.
Material extrusion
Material extrusion is a 3D printing technique that creates 3D parts using a continuous thermoplastic or composite material filament. S. Scott Crump invented and patented material extrusion in the 1980s as part of Fused Deposition Modelling (FDM).
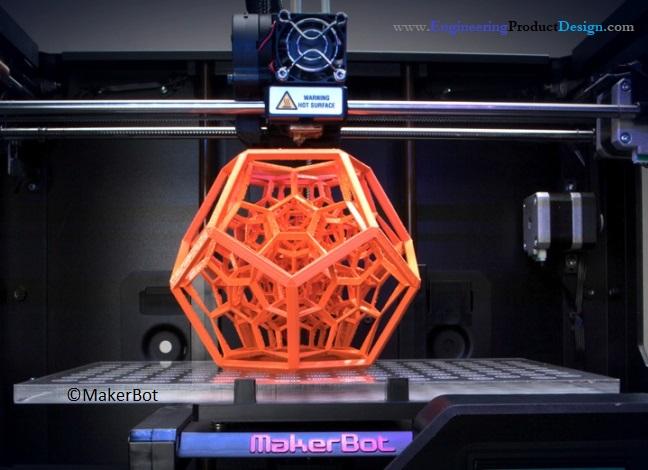
The FDM printer feeds the thermoplastic filament through a heated nozzle while depositing the melted polymer layer after layer onto the bed to create a 3D part.
How does Material extrusion work?
Material Extrusion
Powder bed fusion (PBF)
PBF is a 3D printing technique that melts and fuses the material to form a 3D geometry part using either a laser or an electron beam. Powder Bed Fusion incorporates the following widely used printing technologies: Direct metal laser sintering (DMLS), Multi Jet Fusion (MJF), Electron beam melting (EBM), Selective laser sintering (SLS), Selective heat sintering (SHS), Selective laser melting (SLM), are all examples of sintering techniques .
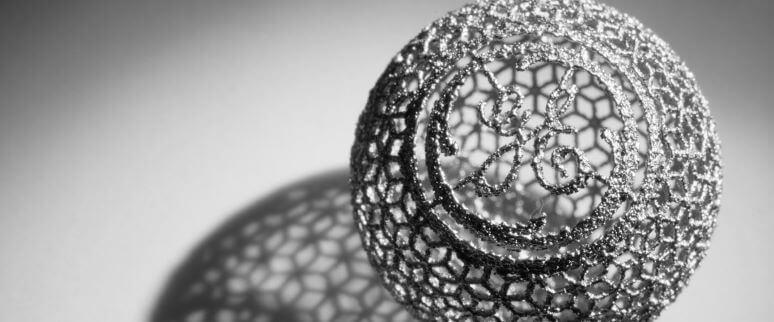
Powder bed fusion processes, particularly Selective Laser Sintering (SLS), were pioneers in industrial additive manufacturing. A laser or electron beam is used in this method to melt the powdered material and fuse it to form a solid object.
How does Powder Bed Fusion(PBF) work?
Powder Bed Fusion
Vat Photopolymerization
This method employs Photopolymerisation, which involves using radiation-curable resins or photopolymers to create 3D objects by selectively exposing them to ultraviolet light. When these materials are exposed, they undergo a chemical reaction and solidify. Unfortunately, these technologies can only print on plastics.
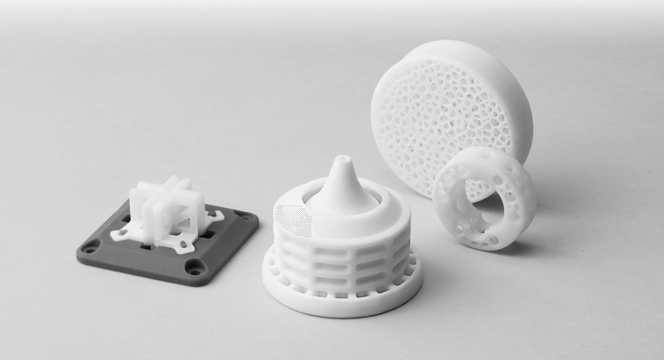
This category includes three major types: stereolithography (SLA), digital light processing (DLP), and continuous digital light processing (cDLP).
How does Vat Photopolymerization work?
Vat Photopolymerization
Binder jetting process
As the name implies, this technique creates 3D parts by selectively depositing binding liquid, which joins the powdered material to form a 3D part. Since binder jetting does not use heating to fuse the material, this process differs from any other 3D printing technology.
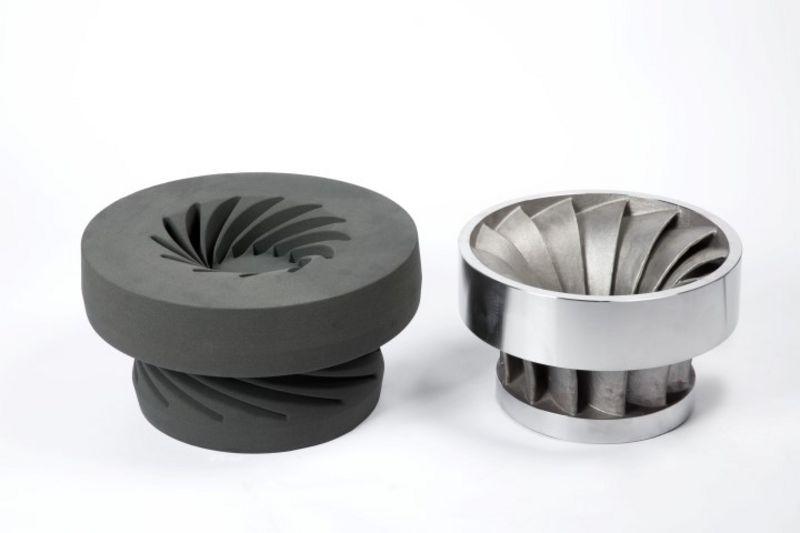
The powder spreading head and the print head with bonding liquid add layers alternatively to create a 3D object. The printing follows the following steps.
- The powder is deposited and spread across the bed.
- Inkjet applies the binder as per the sliced layer data from a 3D model
- Bed moves down by the layer thickness
- The spreading head then recoats the material on top of the previous layer.
- The above steps repeat until the printer completes the entire part
How does Binding jetting work?
Binder Jetting
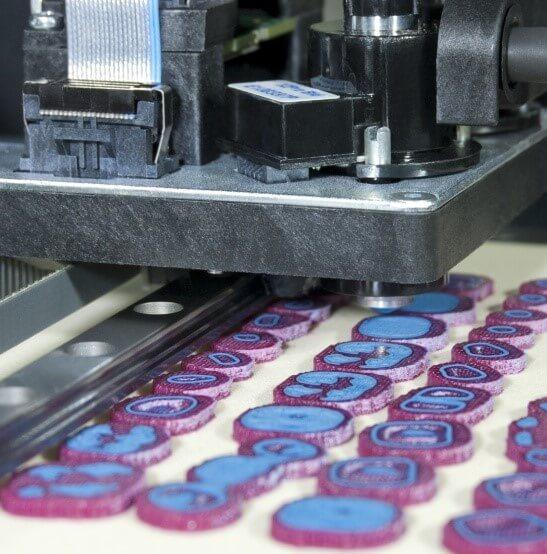
Material jetting
Material jetting 3D printer selectively deposits material droplets layer after layer into the build plate to create a 3D part. The depositing technique is very similar to traditional inkjet printers in that ink droplets are selectively deposited to create a 2D print. When the 3D printer finishes a layer, it cures it using ultraviolet light before moving to the next layer.
The following commonly used printing technologies are included in powder material jetting: Drop On Demand (DOD), UV-cured Material Jetting, and NanoParticle Jetting (NPJ).
How does material jetting work?
Material Jetting
Directed energy deposition (DED)
Directed energy deposition technology employs focused thermal energy to create 3D parts. DED uses an electron beam, plasma arc, or laser to melt and fuse the material as the print head deposits to create a three-dimensional object. These are very similar to welding processes but much more detailed.
LENS 3D printers use the geometric information in a Computer-Aided Design (CAD) solid model to independently direct the DED print head as it builds up the part layer by layer.
LENS and EBAM are the two leading Directed energy deposition technologies. EBAM employs an electron beam, whereas LENS uses a focused laser to melt the material.
How does Directed energy deposition work?
Directed Energy Deposition (DED)
Sheet lamination
Sheet lamination technologies stack and laminate sheets of material to create 3D objects using adhesive or ultrasonic welding. After the 3D printer finishes the print, the sections’ unwanted areas are removed layer by layer.
Laminated Object Manufacturing (LOM), Ultrasonic Additive Manufacturing (UAM), and Selective Deposition Lamination (SDL) are all subsets of sheet lamination technology.
How does Sheet lamination work?
Sheet Lamination
Advantages and disadvantages of additive manufacturing
Advantages of additive manufacturing
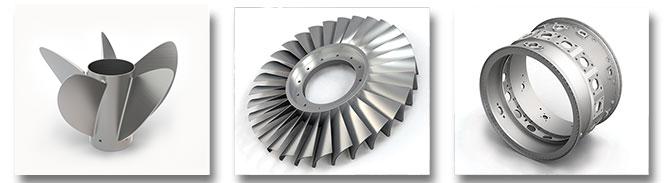
- Without the use of any tooling, AM can print complex 3D geometries with interior features.
- When compared to machining, there is less waste.
- The part can be printed directly from the 3D model without needing a drawing.
- Product designers can create Prototypes faster, allowing designers to test different iterations more quickly, resulting in a shorter design cycle.
- 3D Printing requires minimum or no tooling compared to traditional machining for smaller batches.
- Printing is an option for production tooling.
- Various materials can be mixed during printing to create a one-of-a-kind alloy.
- Different sections of the 3D printed part can be different alloy variants.
Disadvantages of additive manufacturing
- Some of the 3D printing technology is still in its early stages. Hence the construction process is slow and expensive.
- High production costs as a result of equipment costs
- Depending on the 3D printing type used, various post-processing is required Small build volume compared to other manufacturing part sizes such as sand casting
- Because of the poor mechanical properties of some types of 3D printed parts, they require some post-processing.
- Poor surface finish and texture when compared to manufacturing processes such as CNC and investment casting.
- The parts’ strength is comparably lower.
How 3D printing technology works
Although the 3D printing process flow differs between the different 3D technologies used to create 3D parts, they all follow these simple steps to make the final part.
Three-dimensional modelling (3D model)
The designer uses CAD software or a 3D object scanner to create a 3D model. Since the 3D printer prints every feature from its 3D model, every detail on the model must be correct, and its external geometry must be fully defined.
Although 3d printing gives the product designer greater design flexibility as it can print more complex parts than some traditional manufacturing processes, there are still constraints and rules to follow when designing for the best results.
The design guides differ depending on the additive manufacturing technology and material used. Part design guides are available from equipment manufacturers and 3D printing service providers. Refer to the 3d printing technology and their manufacturers to find out more.
CAD software for 3d printing
What CAD software can you use for 3D printing?
| Solid works | CATIA |
| Blender | Creo elements |
| FreeCAD | Rhinoceros |
| Fusion 360 | SolveSpace |
| OpenSCAD | Autodesk inventor |
| Onshape | BricsCAD Shape |
| Meshmixer | SketchUp Free |
| SelfCAD | TinkerCAD |
STL file creation
When the designer is satisfied with the product part design, the user converts the CAD file to a standard 3D printing format known as standard tessellation language (STL), which 3D Systems created in the late 1980s for use in its Stereolithography (SLA) machines. Here’s how the STL file is created and used for 3D printing.
Most CAD software can save 3D models as an STL files. However, all printer manufacturers have software that can convert any CAD format into an STL file. STL file tessellates the 3D shape and slices the part into digital layers. Along with other factors, layer thickness determines the final print quality.
STL file transfer – 3D printing software
The user transfers the STL file to the printer, often manipulated to orientate for printing using either 3D printing software or custom 3D printer software. At this stage, machine software may create a file with additional information, such as support structure and temperature.
3D printer set-up
Each 3D printing technology and its variants have steps and requirements for creating a new printing job. Material selection, orientation, printer temperature, support structure, and build platform levelling are all part of the setup process. It also entails loading print material, binders, and other consumables into the Machine.
Then the 3D printer software converts STL information into G-code. Multiple parts can be set up to reduce printing costs, and waste can be reduced by selecting the correct orientation.
What is a G-code?
G-code instructions instruct the machine axes the positions to move in a three-dimensional space, how fast to move, and what path to take.
3D printing step
When the build begins, it builds the design one layer at a time. A typical layer is about 0.1mm thick, but it can be as thin as 20 microns, depending on the technology and material used.

Depending on the build size, printing machine, 3D printing technology, material, and printing resolution, the build process could take minutes, hours or days.
Part removal
Sometimes, printed parts require a cooling-off period before removing them from the Machine. Removal can vary depending on the Machine and technology, from simply peeling off the build platform like in FDM printers to cutting the DMLS parts using wire EDM.
Post-processing step
Almost all 3D printing techniques need some level of post-processing. Depending on the 3D printing technology used and the end-user requirement, it can range from removing supports and gentle cleaning to machining and heating treating the part.
Finally, post-processing steps such as cleaning, polishing, and painting may be necessary.
3D printing materials
Every year, the number of 3D printing materials available multiplies as market demand for specific materials and mechanical properties drives advancements in material science. These countless material choices make it impossible to overview all 3D printing materials comprehensively. Still, Because each 3D printing method is only suitable for a limited number of materials, some broad generalisations are possible.
So, what material is used in 3d printing? The most common 3D printing materials are thermoplastic and thermoset polymers, but composites, metals, ceramics, and sand can also be 3D printed.
- Polymers
- Thermoplastics – FDM & SLS
- Thermosets – Material jetting, SLA & DLP
- Metals – DMLS, SLM, Binder jetting & FDM
- Composites – FDM & SLS
- Other – Sand – Binder jetting